Windows
How to Prepare for a Window Installation
Geek Level 1
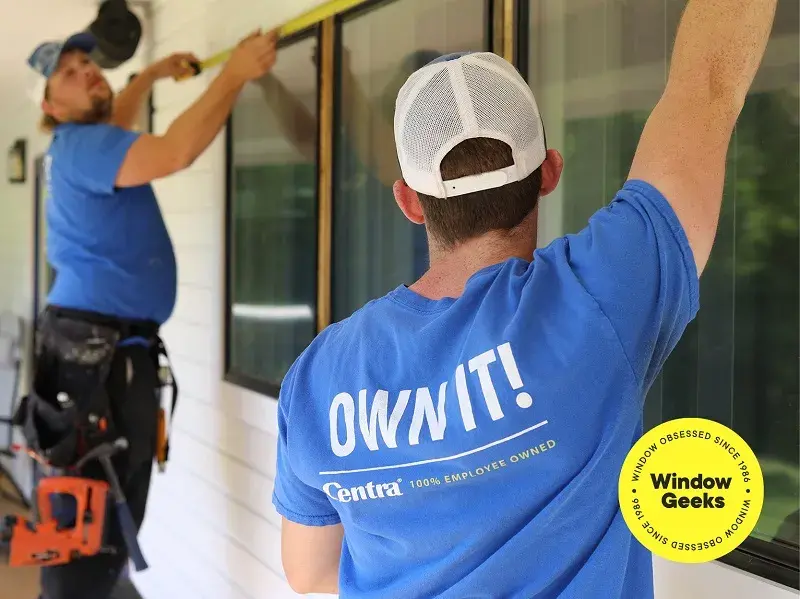
Preparing for your window installation appointment is key to ensuring the process goes smoothly and your new windows fit perfectly. With just a few simple steps, you can make the entire experience more efficient and hassle-free. At Centra Install Pros, our experts are here to guide you through the process! Read on to learn everything you ever wanted to know about preparing for window installation.
Step-by-Step Instructions: How to Prepare for a Window Installation
Clear the Area Around Your Windows and Doors
To ensure a smooth installation, it’s crucial that the team has easy access to all windows and doors that need replacing. Proper preparation will allow for quick, efficient work.
- Remove blinds, curtains, and hardware: Take down any blinds, curtains, and brackets to provide an unobstructed view of the window frames.
- Move furniture: Relocate any furniture that might block the area. Try to clear at least 3-4 feet around each window opening so the installers have plenty of room to work.
- Protect floors and rugs: The team will use drop sheets to protect your floors, so there’s no need to worry about cleaning up afterwards.
Pro Tip: Keep an eye on the weather in advance. Our Centra Install Pros will work come rain or shine, but occasionally, extreme weather events may hinder installation and force a reschedule.
Ensure External Areas are Accessible
Window installations typically require work on the exterior of your home, so it’s just as important to prepare outdoor spaces.
- Move outdoor obstacles: Clear any obstructions around the outside of your windows, such as plants, garden furniture, or debris, to ensure the installers can access the window frames easily.
- Trim back greenery: Trim any shrubs, bushes, or tree branches that may be blocking the window areas.
Plan for Open Exterior Doors
During the installation, exterior doors will likely be opened frequently. Prepare for the doors to be open by securing your beloved pets inside.
- Pet safety: Consider finding an off-site sitter or keeping them in a quiet, secure room during the work.
- Keep entryways clear: Ensure that walkways and doorways leading to the installation areas are free of clutter, making it easier for the team to move in and out of your home.
Prepare for the Final Inspection
Once your new energy-efficient windows are in, the lead installer will conduct a final inspection of the work done. This is your opportunity to check for any minor issues or adjustments that may need to be addressed.
- Check for deficiencies: Walk through the completed work with the installer to make sure everything meets your expectations. Any small fixes can often be made on the spot.
- Clean-up process: After the inspection, the installation team will perform a thorough clean-up, removing any debris or packaging materials.
Why Proper Preparation for Window Installation is Important
Proper preparation for your window installation offers several benefits:
- Faster and more efficient installation: Clear access and a clutter-free workspace allow the installation team to work more efficiently, reducing the time it takes to complete the project.
- Safer installation: Ensuring there are no obstacles inside or outside your home helps keep everyone safe throughout the installation process.
- Cleaner home: Install teams use drop sheets and takes care to clean up after the job, so you don’t have to worry about post-installation messes.
- Better communication: Preparing your space and being ready for the final inspection allows you to ask questions and address any concerns immediately, ensuring complete satisfaction.
Common Issues and How to Avoid Them
Sometimes, homeowners face common issues when preparing for a window installation. Here’s how to avoid them:
- Obstructed windows: Ensure no furniture, curtains, or other objects are blocking the windows, both inside and out, to allow for easy access.
- Pet safety: Pets can be curious about the installation process. Make sure they’re safely secured in a room away from the work area to avoid them escaping.
- Restricted outdoor access: If your windows are being replaced on the exterior of the home, remove any plants or obstacles that might block the team’s access.
Pro Tips for Preparing for a Smooth Window Installation
- Move Everything 3-4 Feet Away: Make sure the area around each window is clear by at least 3-4 feet to allow for a smooth installation process.
- Clear the Outside Area: Be sure to clear any landscaping, tools, or debris from around your windows.
- Prepare for the Final Walkthrough: After the installation is complete, take the time to check for any issues or adjustments that need to be made before the team leaves.
- Choose the right windows and installers: Centra doesn’t just manufacture energy-efficient vinyl and hybrid windows to the highest standards – we also install them! Our experts will help you every step of the way, and we offer an unrivalled 30-year warranty, providing you with the peace of mind you deserve.
FAQ: Preparing for Window Installation
What should I do to prepare for window installation?
Clear the area around your windows, move any furniture or obstacles, and ensure both indoor and outdoor spaces are accessible for the installation team.
Do I need to remove blinds or curtains before window installation?
Yes, remove all blinds, curtains, and hardware to give the installers easy access to the window frames.
How should I prepare for outdoor installation of windows?
Trim any plants or bushes near the windows and clear the area around the exterior of the window to ensure the team can easily access it.
Centra: Western Canada’s Top Choice for Windows & Doors
Have an upcoming window and door project? Reach out to the experts for a free consultation! If you have any questions regarding this topic or anything else to do with windows, contact a local Centra Employee Owner at 1-888-534-3333 or drop us an email at info@centra.ca. Follow us on Facebook and Instagram to stay up to date, and test your window knowledge on LinkedIn.
Recommended for you

Geek Level 1
Windows
How to Remove Screens in Casement Windows
Geek Level 1
Windows
How to Clean Window Glass


